
Tips for Teaching Virtually (Group Classes)
Dear Ralf,
It seems that everything is going online these days, even school teachers’ classes and professional facilitators’ workshops. While for some people, this transition is small because they are already used to working in an online capacity, for others, having to express themselves to an audience virtually can be overwhelmingly new. That is why we are sharing our top tips for what to do if you find yourself having to deliver classes for the first time virtually. Don’t worry, we’ve been doing this for years―we’ve got you covered!
BEFORE THE CLASS: Create your Classroom Atmosphere
Just like when you are teaching one-to-one classes classes online, it is important that you create a ‘classroom’ atmosphere. This is because you want to make sure your students are able to engage properly with you as a teacher. To enable engagement, from a logistics side, we recommend that your follow these tips:
 1.) Choose or create a space that is distraction free. We recommend positioning yourself with a blank background (such as against a white wall) or with a background that fits your work. As an English teacher, Dani teaches with a map behind her. As a school teacher, you might work with something related to your subject matter behind you. As a professional facilitator, consider including your logo in your background.
Now, you may find that with virtual platforms such as Zoom, you can set your background to whatever you want. It can be very tempting to place yourself at the beach or in a luxurious space. However, we recommend using a plain background or something that fits your line of work.
2.) Ensure that there is no unnecessary noise around you. While this is important in the one-to-one teaching, you will find that environmental noises will become even more noticeable in group classes. Noisy distractions are never good, but issues these cause even more increase if you find that participants have a poor internet connection or difficulties hearing you in general.
In addition, we have found that any background noise will be amplified to the group. Therefore, making sure you are in a quiet space will probably be key for a great listening experience. If you can be somewhere that you can close the door or speak with the people who are living with you about your work hours, you will be able to optimize the experience for everyone. For more tips on working for home effectively, check out this article.
 3.) Use a headset with a microphone. To the last point, we highly encourage using a headset and speaking into a microphone to ensure the best sound quality. When you use your computer’s normal speakers, you are picking up all sorts of noises around you. When you use a headset and microphone close to your face, you are more likely not to pick up any potential background noise.
Our recommendation for headsets is something like this one. We like it because the noise canceling headphones allow us to really focus on what is happening in the session. However, from a participants’ viewpoint, make sure that there is a specific microphone piece that is close-ish to your mouth (don’t use Bluetooth airpods for example as they are much more likely to pick up all the noise around you).
Pro-tip: make sure that you are not wearing any clothing that might rub against the microphone causing additional noise. Similarly, keep long hair from brushing against the mic.
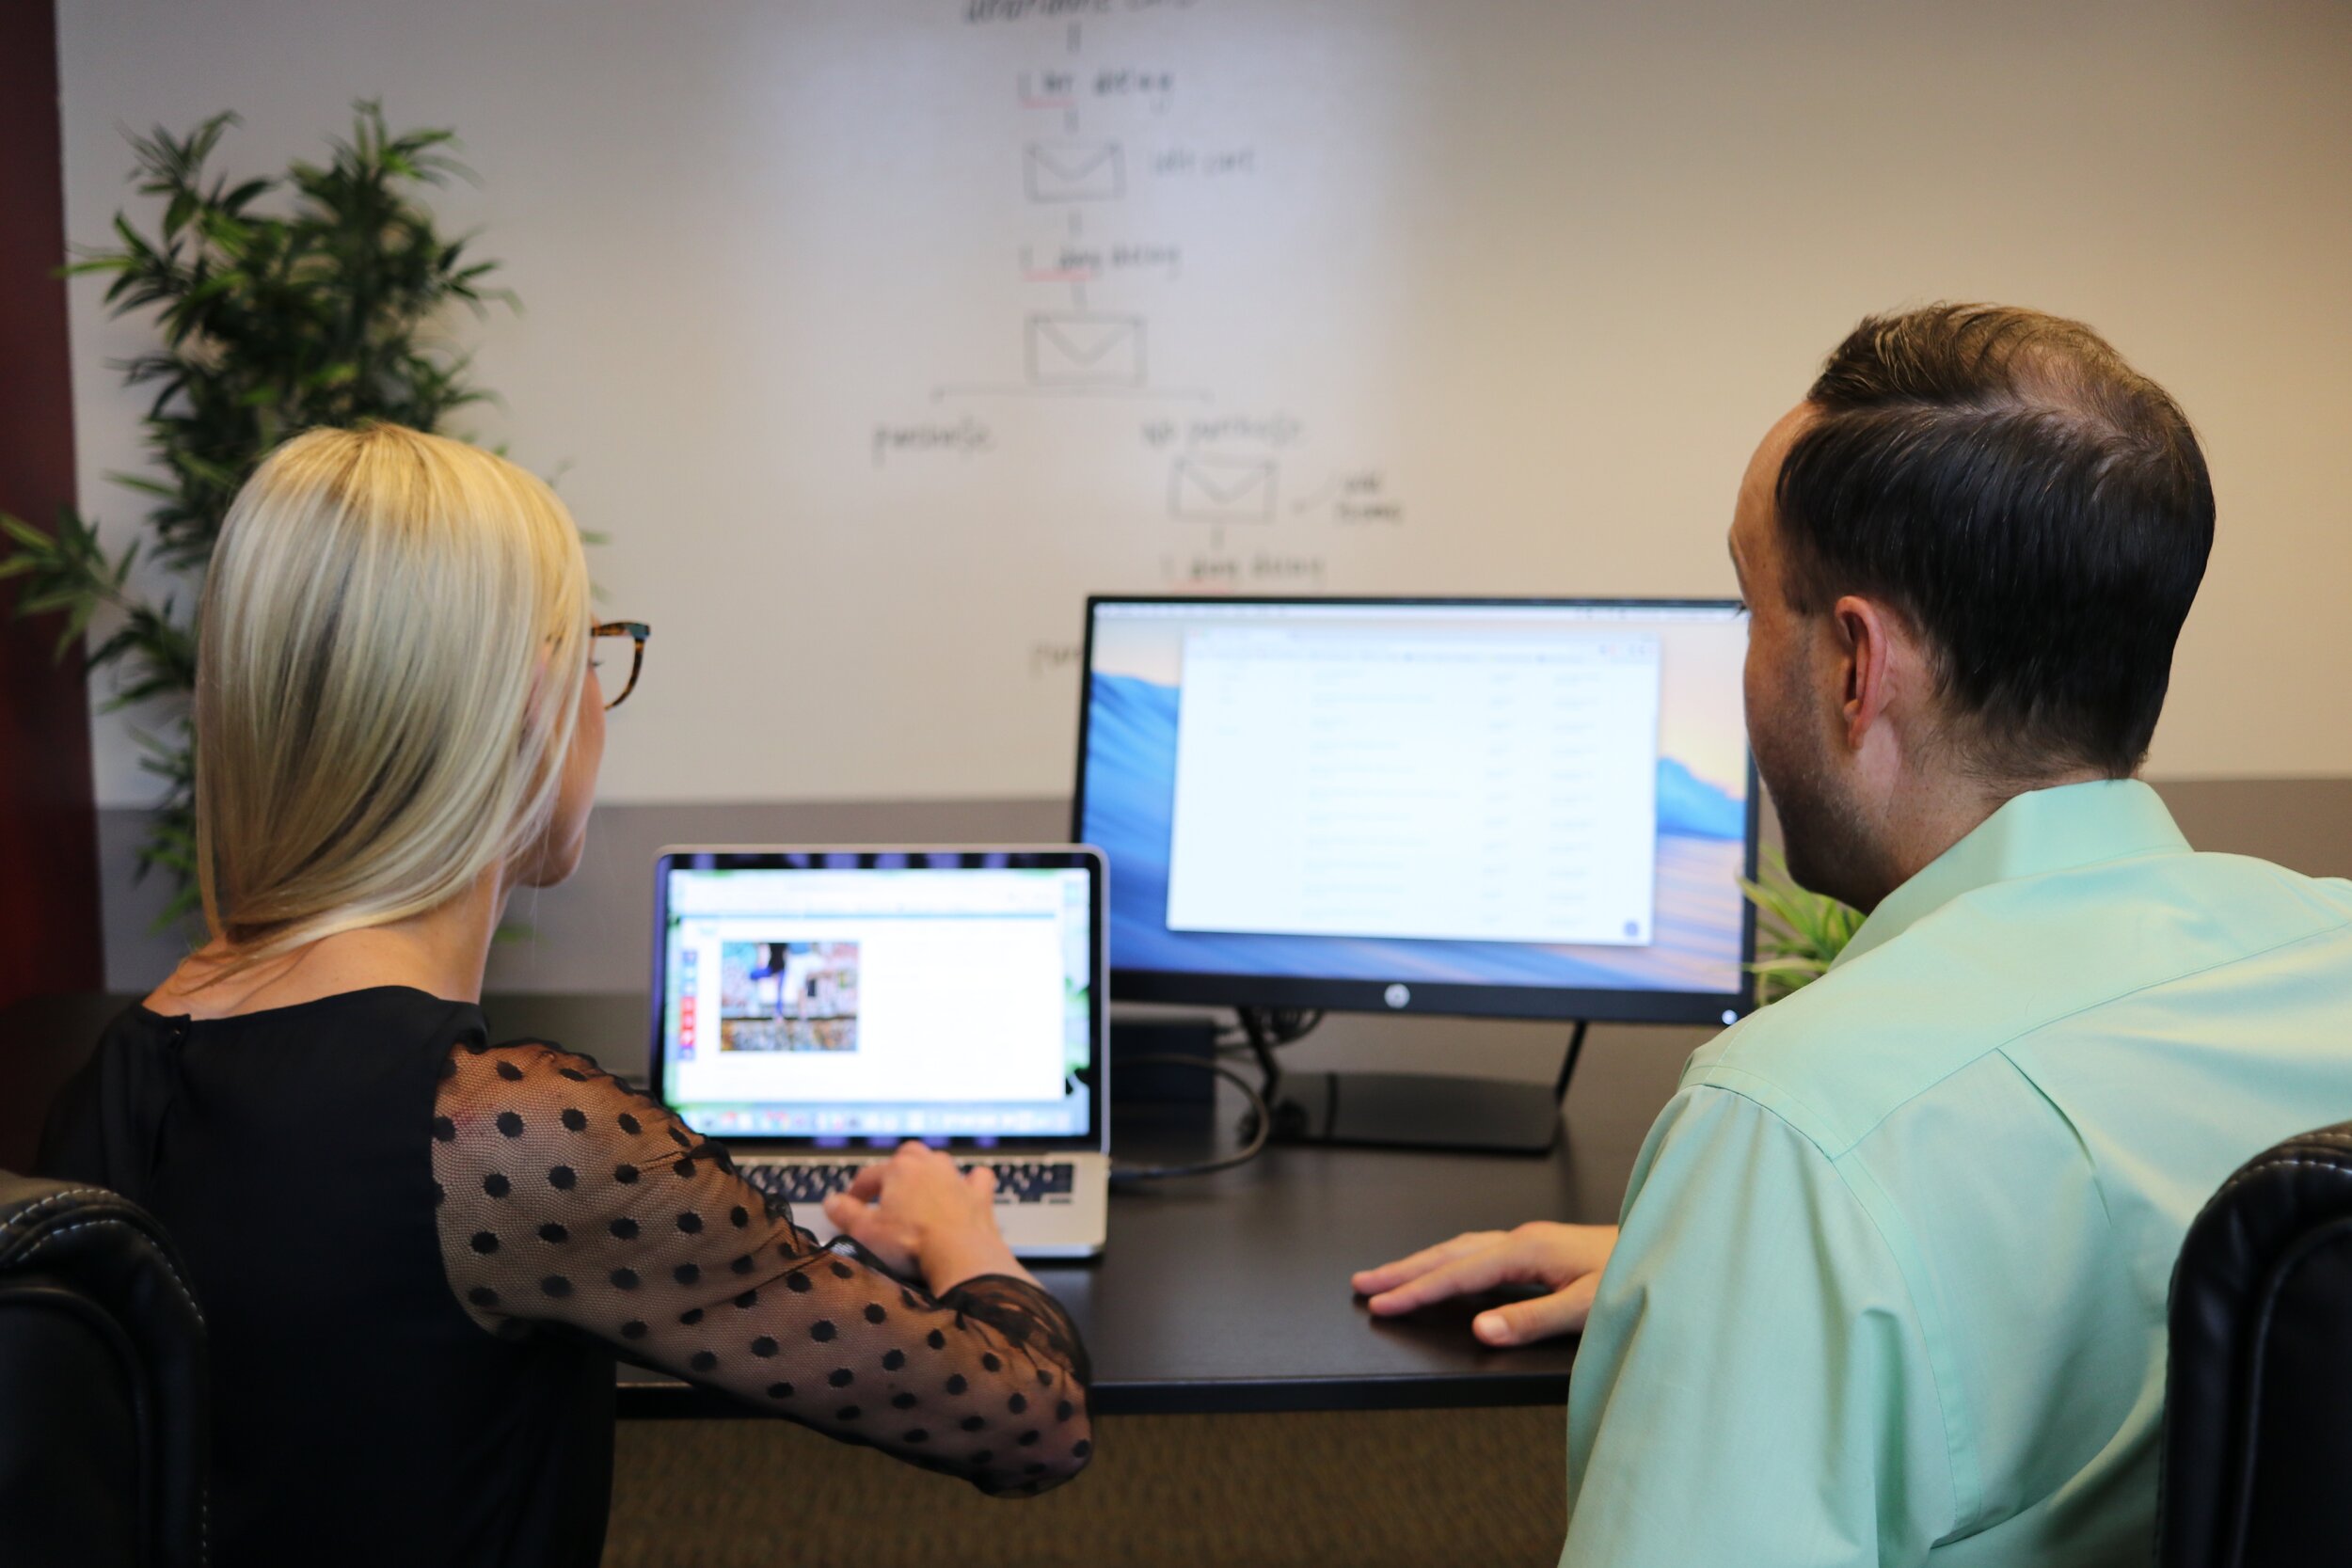
4.) Make sure your space is organised. Test out your camera now and make sure that your laptop, camera, and anything else you might need (external screen, notepad, etc.) are organized in a way that makes sense for video. If possible, try to figure out a configuration where your eyes are at camera level so it appears like you are speaking into the camera. At the same time, you will want to be able to take any important notes without distracting the class.
Depending on what you need to do and your set-up, we recommend having a second screen so that you can have your video with participants in one screen and everything else in another. This means that you are always able to see what is going on in the virtual classroom while still having access to any other important things.
5.) Prepare yourself on the day-of. When the time finally comes to do your session, be sure to set up at least five minutes before you are supposed to start. We highly recommend making sure your computer is plugged in and charging. In addition, grab a water bottle, notebook, extra pen, and anything else you might need before you start. Having everything available at your fingertips is much more professional than if you need to pause the session to go grab something.
Before the Class: Prepare an effective class
Most of the preparation for a virtual session is similar to doing a face-to-face class or training. However, it may feel a bit nerve-wracking when you are doing it for the first time. Keep these tips in mind and, hopefully, your preparation will be as smooth as possible*.
 1.) Understand your group and its needs. A group call can be anything from 3 people to 100+ participants. However, the way these sessions are carried out have to differ if you are going to make sure that your audience is getting the most out of what you are sharing with them. Before you start anything else, try to get a good idea of who is participating in the call and what they hope to get out of it.
For example, a one-hour English class with 10 students is much easier to manage, in comparison, than training for a group of 50 managers who are trying to come up with a solution to a difficult situation during a three-hour session. The first group is relatively limited and the progress is together. The second group is much larger and longer. Subsequently, you will have to figure out how to finesse the situation to ensure fair discussion like you would have in a meeting room setting.
2.) Define your objective. Like in a face-to-face session, when you are teaching virtually, you will have to define your objectives based on where the group is. If you have never worked with this group before, consider sketching broad objectives before you start and refining them as you go. As you get to know the group better, you will be able to understand their base point and where they are going.
Another option is to work to define the group objectives before you start. Consider sending out a quick pre-course survey to see where everyone is currently and what they hope to get out of their sessions with you. If that isn’t possible, you can also take the first couple of minutes of every call to work to define that day’s objectives as a group. By making sure that you and everyone else is aware of the objectives, you are setting the session up to stay on track and, hopefully, be successful.
3.) Develop materials that are virtual-friendly. Our attention span is even more limited when we are connected to a virtual session than we are face-to-face. Therefore, consider how the materials you use can keep your participants engaged. One of our main suggestions for your materials is to make it simple. Do not fill presentation slides with lots of words, and make the handouts that people are supposed to read straight-forward.
 You should also consider the kind of group work you are able to do during the sessions itself. In face-to-face scenarios we often work on activities or have one-on-one moments to talk ideas out and receive feedback. Therefore, it is important to think about the platform you will use when deciding on your materials. Some platforms support using tools such as white boards or breakout sessions within the group call. If you have these sorts of add-ons available to you, consider how you can use them to your advantage. If you find yourself with limited tools available to you, please take into consideration how that will impact the materials you use and the types of exercises you want to implement.
For example, online group discussions flow much smoother if you only have 3-4 people in the group. If you can create smaller breakout sessions, you will be able to have better discussion.
Finally, make sure that you plan your materials to allow you to have interactive sessions. Whether you have five people in the group or 100 people, you want to keep them engaged, otherwise they will disconnect. As they are already virtual, searching for other things or playing games is literally just a click away. By making sure your session is interactive (with breakout sessions, poll questions, case studies, etc.), you are preparing yourself to have a successful session.
4.) Decide how and when you want to share these materials. You might find that sending relevant information to participants to read the week before your session (homework, if you will) is more efficient than having them read even one page when together virtually. You should also consider how you will send these materials. If you send them during your session, will you use the platform itself or will you send them by other means? If you send them before, how will you do it?
Our general advice would be to send the information up-front for anything that takes more than three minutes to go through. This goes for documents, videos, etc. You can agree with the participants when the ‘homework’ should be given and you should be straight-forward with an approximate estimation of how long it will take them. In addition, we would recommend sending your slides or overall session notes when you are done so they have easy access to what you have covered that day.
 5.) Practice, practice, practice. It might seem like a simple switch from face-to-face to virtual. However, we do believe that it is not necessarily as simple as you would like to think. That is why we recommend doing a run-through session with a family member or friend. Minimally, you should test your audio, your internet connection, and your video quality. If you can, we would even recommend doing a complete, although perhaps shortened version, of what you plan to cover.
Ideally, what you practice should fill up about ¾ of the entire time planned. This is because you should expect participant interaction (see more below) and questions from the group. We have often found that you will need even less than that if you have an exceptionally interactive or inquisitive group. However, you should always plan an additional activity or two just in case you run through everything and still have time left.
6.) Make sure your participants test the platform beforehand and provide them with some troubleshooting tips! It is exceptionally frustrating to have your plan thwarted by technical difficulties. That is why our final preparation tip is to make sure that all the people who will join your session know how to test the platform before anything begins. In addition to testing the platform before the session, we would also suggest recommending participants to log in five minutes early if possible. This way you will be able to do an audio check and test any issues before your session is supposed to start.
DURING THE CLASS: In-Class Teaching Tips
We know you’ve been doing this teaching thing for awhile and so it may feel like you don’t actually need to pay this section much attention. However, there are a lot of aspects of using an online platform that can get in the way of otherwise effective lessons. Keep these tips in mind to ensure you and your participants make the most and get the most out of the classroom experience.
 1.) Make sure everyone uses video. Like we have mentioned previously, participants will easily be distracted by everything they have at their fingertips. By enforcing a ‘video on’ policy, everyone will be more likely to look at the camera and feel like they are involved. In turn, this means that you should always try to speak into the camera so that each individual feels like he or she is being spoken to.
If possible, we also recommend you try to keep a screen open with participants’ videos so you can check that they are paying attention. When you see that people’s attention is wandering, you can make an extra effort to grab them. If you are not able to see their faces, this will be more difficult to judge and adjust for.
2.) Make sure people are on mute when not talking. Even though everyone is showing his or her face, you are going to want to make sure people are on mute when they are not talking. This is because, especially in larger groups, you are more likely to pick-up lots of feedback and background noise if everyone’s microphone is on at the same time.
Having everyone on mute also means you will have to come up with different ways for participants to communicate with you that they have a question or comment. We can suggest using the chat box available or a hand raising/thumbs up button available on many platforms. However you plan to do this, make sure you communicate clearly with the people joining the call so that they are all aware of the options and expectations.
3.) Speak more clearly and slowly than normal (or even than you think is necessary). When you are listening to someone speak virtually, you will probably find it more difficult than when you can see them talking face-to-face. Ideally, using video will help improve this situation but in some cases it will not be enough. Therefore, we recommend making sure you take care with how you speak to ensure maximum comprehension by others of the line.
Pro-tip: If you are not using video or the connection is bad, consider how you can modify your speech to accommodate that.
 4.) Use non-verbal cues as well. If you and your participants are using video, try to use movements that help emphasize and explain points you are trying to make. We are programmed to understand with more than one sense and by adding in visual cues, changes in your tone of voice, etc. you should be able to communicate more effectively.
However, these non-verbal cues are only beneficial if they add to the video. Therefore, keep in mind that if you use too many visual cues or if the internet connection for you or any of the participants is not great, this can hinder more than help. Judge each scenario as it comes and if you find that you cannot use gestures or facial expressions without compromising the quality of the video, stop.
5.) Make your session interactive. Like we have said before, please try to make your session interactive so that the participants follow along. In addition, remember that most people learn by doing and that giving them small moments to figure things out for themselves will help participants truly grasp what you are trying to say.
To make this work in practice, please be aware that you might have participants who are less likely to interact than others. The reasons behind this include personality and culture, two things you are not likely to change. However, if you are paying attention to what is going on, you will be able to build in different interactive moments that suit everyone’s needs.
6.) Have fun. If you are not having fun while carrying out this virtual teaching experience (or you are exceptionally nervous), your participants will notice! That is why we also recommend having lots of fun while you are doing the session. Sure, the first sessions will likely be less amazing than you would like, but that just leaves lots of room for improvement in the future.
 7.) Ask for feedback. This is especially true if you want to do multiple sessions with the group as you will be able to tailor what you do to their needs and learning abilities. In addition to improving your sessions, this has the added benefit of your participants feeling like they have actually been listened to and have the ability to share future sessions.
However, this is also true if you just want to learn how you can improve your own skills and build on your virtual capabilities for the future. Remember, that we often have a certain perspective of how something went but others may have a totally different opinion of the situation. Asking for feedback is one of the only ways you will truly be able to get the outside perspective of what you are doing.
We hope that you find these 18 tips for teaching group sessions online has been helpful. Please leave your comments down below and let us know what works (or really doesn’t work) for you. And remember, we are all on this learning journey together.
Sincerely,
Spain
*Despite all the planning in the world, sometimes your lesson is not going to turn out as well as you hoped. Read our tips here on recovering from a not-so-great class.


Related Posts

Culture Shock: The Insights of a Spaniard in America

How to: Cheaply Send a Package to Spain